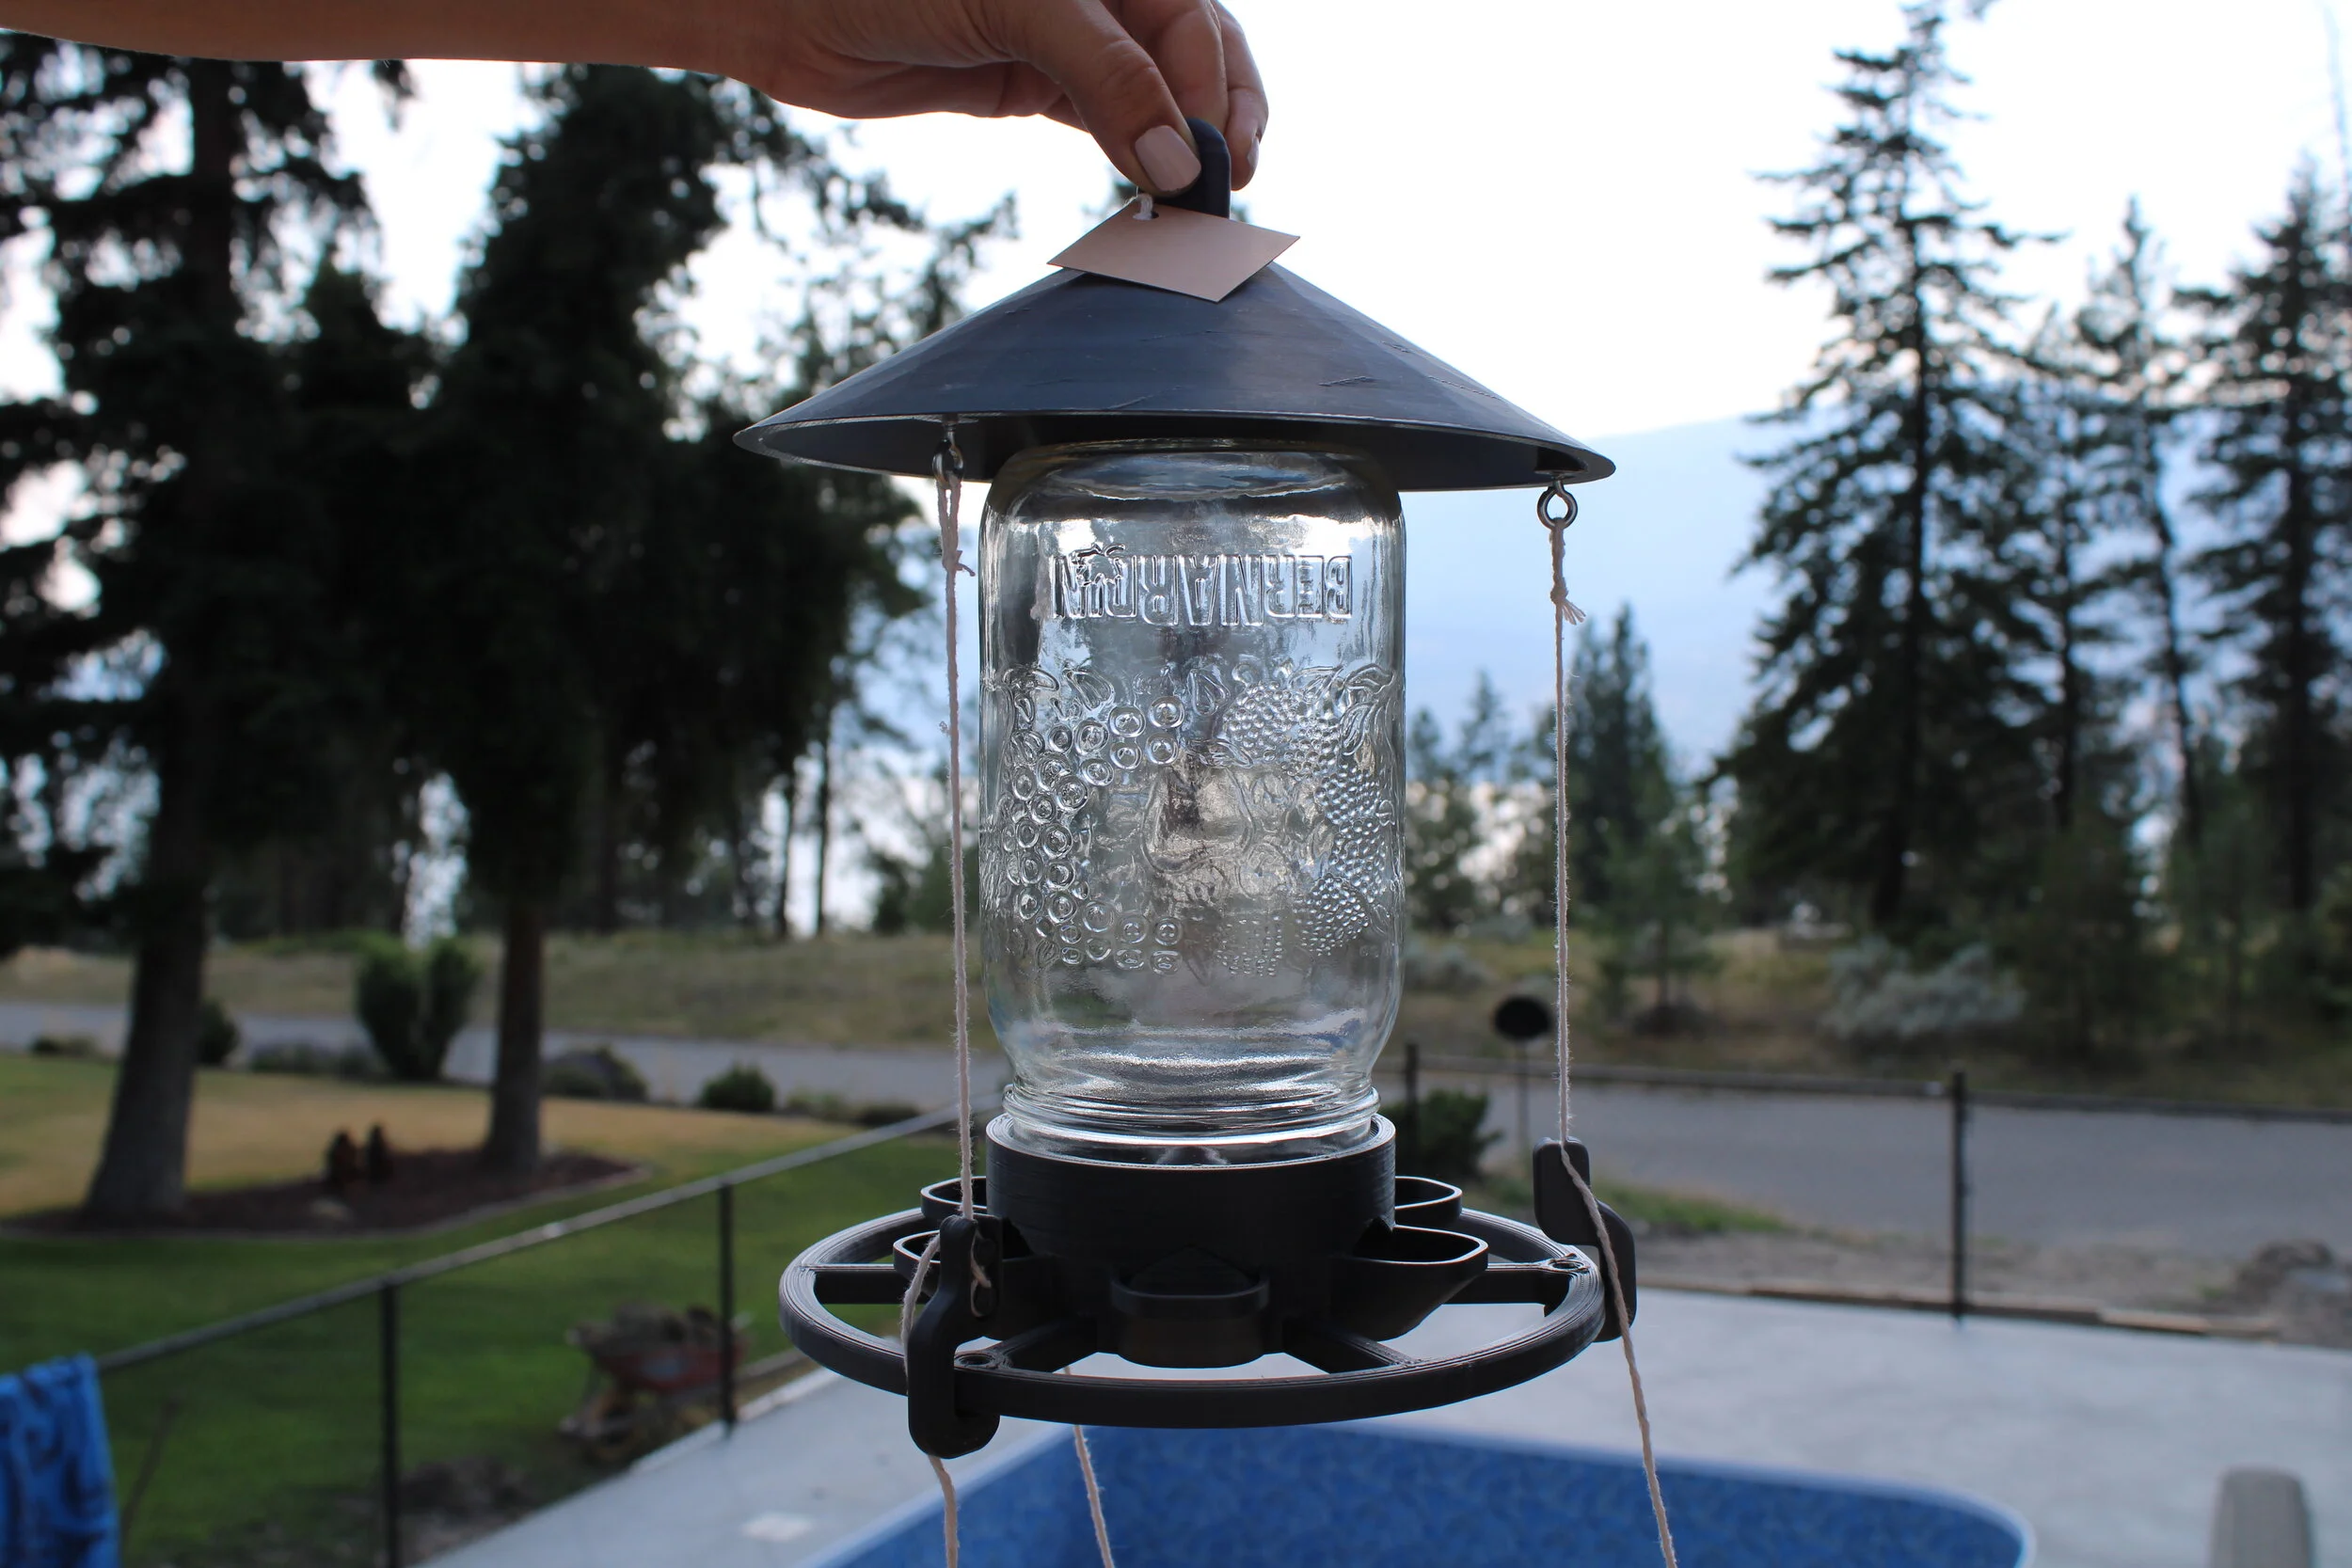
How to assemble The Rogerie bird feeders
Step 1. Place your jar and bird feeder parts on a table or flat surface that you can easily work on.
Step 2. Screw your mason jar into the base of the bird feeder.
Step 3. Attach the first hook.
Three strings should already be tied to the roof of the feeder. Because you can use your own mason jar and the height may vary, you’ll need to attach the hooks and adjust the length of the string at home. If the hooks were already attached to the strings, remove them so you can retie it.
The string will follow a figure-eight path through the hook and then be secured in the notch at the top.
With the feeder on the edge of the table, wind the string onto the hook but do not secure it into the notch yet.
The string should be slightly too short to hook under the feeder base, so you may need to adjust it a few times.
Once you think you have the right length, firmly pull the string through the notch in the hook to secure it.
With only one hook attached it’s normal for the roof to rest at a slight angle. If the angle seems too sharp or it requires anything beyond gentle force to flatten it out, your string is too short. If the roof rests flat, the string is too long.
Step 4. Attach the remaining two hooks and connect the roof to the base.
If all the strings are approximately the same length, the roof will rest flat. Sometimes it’s necessary to give them a final adjustment.


